
We have blah white tab top curtains they are fine but just not interesting by any means. I purchased a dark gray twill fabric at Joann's for $20. I had no idea how much I needed bc I'm that girl that always forgets to measure before I head to the store. But turns out close to 3 yards was just enough. The best part is they are no-sew curtains. I used fabric glue plus my handy dandy hot glue gun. I love that thing!
Here is a great tutorial with Pics on how to do it: http://www.athoughtfulplaceblog.com/2011/02/do-it-yourself-striped-drapes-tutorial.html
This the look I am going for in our bedroom but with dark gray:

I decided to go with 12` stripes instead of 14`as mentioned in the tutorial. Here is my before:


I decided to go with 12` stripes instead of 14`as mentioned in the tutorial. Here is my before:

DURING:

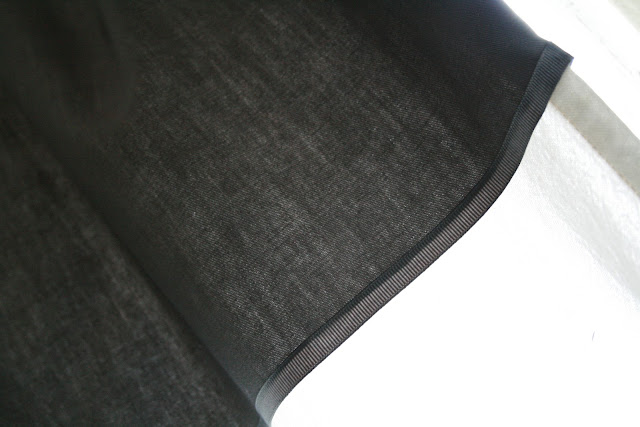
up close detail of using the ribbon trim:

AFTER: time to update that nasty ceiling fan!


In my search for how to do this I also found a spray painted stripe version which in retrospect seemed much easier but I had already purchased my fabric for the stripes. But here is the tutorial if you want to see how much easier it could have been:
http://designdazzle.blogspot.com/2010/01/diy-striped-curtains.html
http://designdazzle.blogspot.com/2010/01/diy-striped-curtains.html
This was super easy, a bit time consuming took me about 3 hours in all to finish. Cost me about $25 for 3yards of fabric, stitch glue and 3 reels of ribbed ribbon. I think it makes for much more interesting curtains:

As you can see I am obviously obsessed with stripes they are on the pillows, the art, and now the curtains!


The best thing about using my hot glue gun is that it is so forgiving. As you can see on the left panel its not exactly straight so I will have to rip it off and reuse that piece to arrange it straight. But that will have to wait until next weekend!
TIP: As I began I couldn't figure out how to get the fabric straight, absolutely straight. I was worried I'd mess it all up. But turns out using the ribbed ribbon on the edge of each piece meant it wasn't 100% necessary to worry about the straightness of your cuts.
HOW TO:
I took one panel of curtains off the rod at a time and layed it across our dining table. I layed my gray twill fabric on top of the white and started at the top near the tab. I then measured my gray twill 12" and drew a line with black sharpie. Don't worry the sharpie won't show up.
Next I cut along my black line and then with my handy hot glue gun I glued the first stripe onto the white canvas panel. Again don't worry if its not perfect bc the ribbed ribbon will cover that. I folded the edges on the ends over to the backside of the panel and glued down the final edges.
Next up was adding the ribbed ribbon to the top of each edge of the gray twill. This will cover any imperfections or fraying that may have occurred when you cut the fabric. The ribbon matched the curtains so well you can hardly tell the difference.
I did 3 stripes per panel on each panel and your done. Again a bit time consuming but not my worst project but I really LOVE the results. The stripes even add a "black out" feature to the room which makes getting up in the AM that much more difficult!
~cheers
No comments:
Post a Comment